Getting the GOLF MASTERS logo onto the cap
Everything we worked out on our end — the files, the sizes that actually fit, the order to do it in, and the one approach that wasted our whole afternoon so it doesn't waste yours.

The short version
Don't try to merge the logo into the cap as one solid model. Keep them as two separate pieces and let the slicer put them together. That's not a shortcut — it's the way that works, and it's the only way you get the logo in a second colour.
The three ways to do it
1. Bambu Studio's SVG tool — do this one
Load the cap, load the logo as an SVG, stamp it on the front of the crown. The logo becomes part of the model, you can paint it a different colour, and it takes about two minutes. This is the route we ended on.
One catch: that tool wants a vector SVG. Feed it a PNG and it won't take it. The SVG below is already made for it.
2. Drop the logo STL onto the cap
Load the cap, then load the logo as its own STL and slide it onto the front so it sinks slightly into the surface. Touching bodies get fused by the slicer, so it prints as one piece. Good fallback if the SVG tool gives you trouble.
3. Booleaning them into one STL first — skip this
We tried this for hours in OpenSCAD. Every export came back reporting two separate volumes, which means the logo was floating just off the cap instead of joined to it — it would have snapped off the print. The reason: the crown isn't actually a sphere, so nothing we fitted to it sat flush at the front. The later attempts just hung. It's a dead end, and you get a worse result than option 1 anyway.
The numbers that worked
- Logo width
- 40 mm across. We tried 44 and 42 first — both too big for the front panel.
- Height off the surface
- 1.5 mm in the emboss tool. The standalone logo STL is 1.8 mm. 1.4 mm looked too faint.
- Where it sits
- Centred on the front of the crown, about 27 mm up from the bottom of the cap — above the bill, below the curve of the dome.
- Crown wall
- Roughly 10 mm thick, so the logo can sink in a few mm without ever breaking into the hollow where the head goes.
Colour, on your H2D
Your H2D was showing no AMS, so:
- Two colours is free. Two nozzles, nothing to babysit. Make the whole raised logo one colour against the cap — it looks sharp and you can just hit print.
- Three colours (red / white / blue) costs you a filament swap mid-print. Doable, just not unattended.
Paint it by hand with the colour-paint tool, clicking the raised faces. We tried building a colour SVG that maps itself to filaments automatically — it came out wrong, twice. Hand-painting takes a couple of minutes and is reliable.
Do it in this order
- Download Cap.stl and GOLF-MASTERS-logo.svg below.
- Bambu Studio → Create new project → import Cap.stl.
- Open the SVG tool in the top toolbar → Load → pick the logo SVG.
- Set it to Emboss (raised), depth ~1.5 mm.
- Click the front face of the cap to stamp it on. Scale it to about 40 mm wide and nudge it upright and centred.
- Look at it straight on before you go further — if it reads mirrored or upside down, flip it now, not after slicing.
- Colour-paint the raised faces if you want the logo in a second colour.
- Slice and print.
Things that go wrong
- The slicer says two objects / two volumes. The logo isn't touching the cap. Push it in until it overlaps the surface a little.
- The logo comes out mirrored. SVGs count their vertical axis the opposite way round from 3D tools. Flip it and re-check from the front.
- The SVG tool won't accept your file. It's a PNG or a JPG. It has to be a vector SVG.
- Detail disappears when you shrink the logo. The thin bits get thinner than one printed line. Either make the logo bigger or simplify it — the SVG below is already a simplified trace for exactly this reason.
- It hangs forever when merging. That's the boolean dead end from option 3. Don't merge; keep two bodies.
Your files
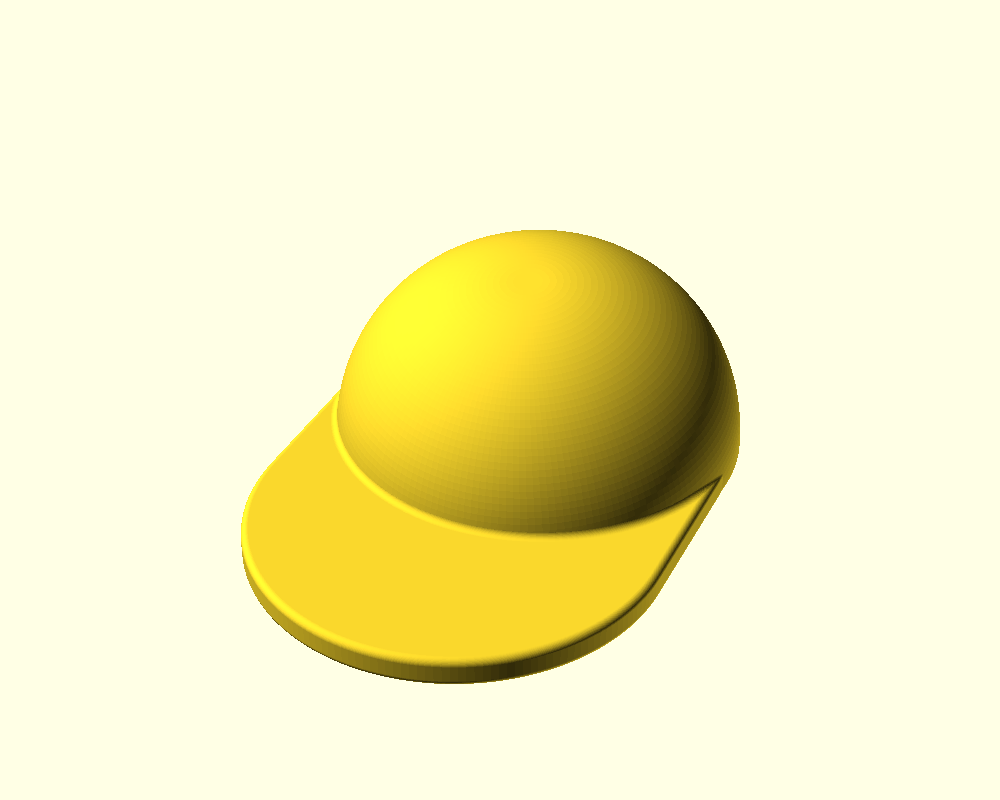
- Cap.stlThe cap itself — the one you sent.
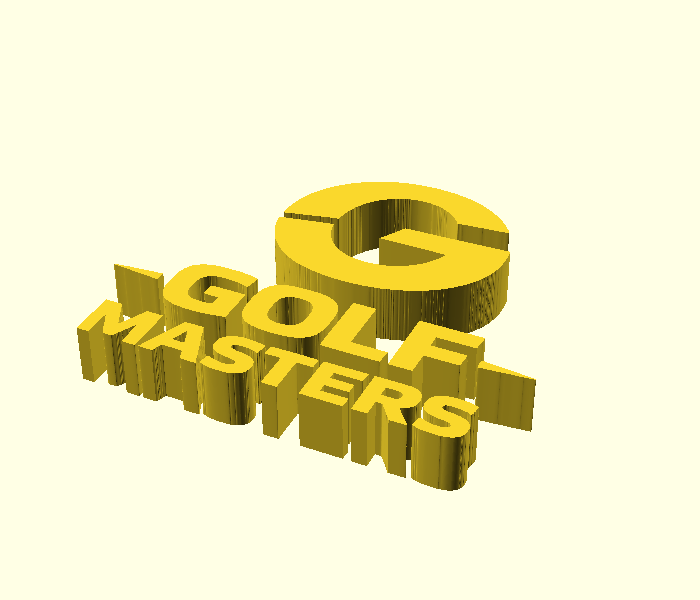
- GOLF-MASTERS-logo.svgThe logo as clean vector, traced from your PDF and simplified. This is the one the emboss tool wants.
- GOLF-MASTERS-logo.stlThe logo as a solid part, 40 mm wide and 1.8 mm tall, if you'd rather drag it on than emboss.
- GOLF-MASTERS-logo-color.pngColour reference to keep open while you paint. Not for the emboss tool.


Test these yourself
We never measured any of this, so we're not going to hand you numbers we made up — a wrong temperature ruins a print and burns your afternoon:
- Filament, nozzle and bed temperature — use whatever your profile already runs well.
- Layer height — a 1.5 mm relief needs enough layers to look crisp. Your call, and you'll know better than we do.
- Orientation, supports and brim — never tested. A dome that size may want a brim.
- How tight it grips the figure's head — the cap is your file, so its fit is whatever the designer built. If it's loose or tight, that's a test print, not a setting.
One last thing, and then I'll stop
Print whatever you like for yourself. But if anything you make ever goes up for sale, use logos you own or have permission to use. That's the same thing that got your listing pulled — the platforms don't ask questions first, they just take it down. Your own designs are the ones nobody can take away from you.
Nice work on this one. Send a photo when it comes off the plate.
— Cameron